Just in from two days at the Stamp & Scrapbook EXPO in Pomona, California. I have to say that it is a little disappointing that they switched venues from the Anaheim Convention Center. The Pomona Fairplex, while being a very nice venue, is much smaller and consequently, there are a lot fewer exhibitors. Took me just an hour to peruse the aisles and see everything. I guess some would say this was a good thing. 🙂
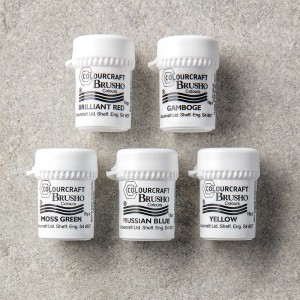
The classes are fewer as well and not as much diversity. However, I still had a great time and am going back today for a couple classes. Yesterday, I took two Color Burst classes with Ken Oliver (Crafts). I have to say that it was a blast! I wanted to take the class so I could learn some new techniques for the new Stampin’ Up! Brusho Crystal Colours made by the British company, Colourcraft.
Once can purchase all 5 colors for $30 at the online store: https://www.stampinup.com/ECWeb/product/144101/brusho-crystal-colour
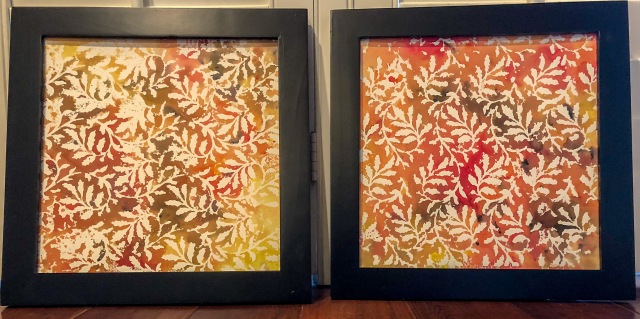
Here are a couple of prints from the class yesterday:


This technique is very easy. Just lay down a stencil on a piece of thick watercolor paper. Don’t touch it or move it. Sprinkle the color powder in various spots. For best results, use colors that are close to each other on the color wheel. I used a warm palette of yellow and orange with a dash of red and brown. I know in spots it looks almost olive green but this is just from the pigmented colors. I did not use any green. Once you’ve laid down a small amount of color, (a little goes a long way) take a very fine spray bottle and spritz the entire surface. Make sure all areas get wet and the color spreads to your satisfaction.
Pick up the stencil right away. Don’t let it sit there because the longer it sits there the bigger the chance of water seeping under the stencil. For the next part, I picked up the stencil and laid it down on another clean surface and then laid another piece of watercolor paper on top. I pressed it down with my hands and then lifted up. And BINGO! I was very pleased with the results. Some people turned the stencil over and laid it down on the paper. I just found the previous way more to my liking. I will try and do a video with the technique soon. Feel free to leave comments or questions. Happy playing!